What a long title right? Well… Hello!!!!!
I was thinking the best to do this post, because since I experimented a lot with this recipe on the way, I just couldn’t get it right. So I made notes about the mistakes I made and that affected the presentation of my cookies.
Ingredients
- 1 1/2 cups all-purpose flour
- 2 1/2 tbsp cocoa powder
- 1 tsp cornstarch
- 3/4 tsp baking powder
- 1/4 tsp salt
- 1/2 cup butter softened
- 1 cup granulated sugar
- 1 tsp white vinegar
- 1 medium egg
- 1 1/2 tsp vanilla extract
- 1 1/2 tsp red food coloring
- 3/4 cups white chocolate chips
NOTES: My cookies didn’t turn out to be with a beautiful vibrant red color, so I will suggest to reduce cocoa powder to 2 tbsp only and increase red coloring to 1 tbsp (I will try it anyway and tell you sometime how is the result) and if you have, use clear vanilla extract.
Directions
- Pre-heat oven to 375 F / 180 C.
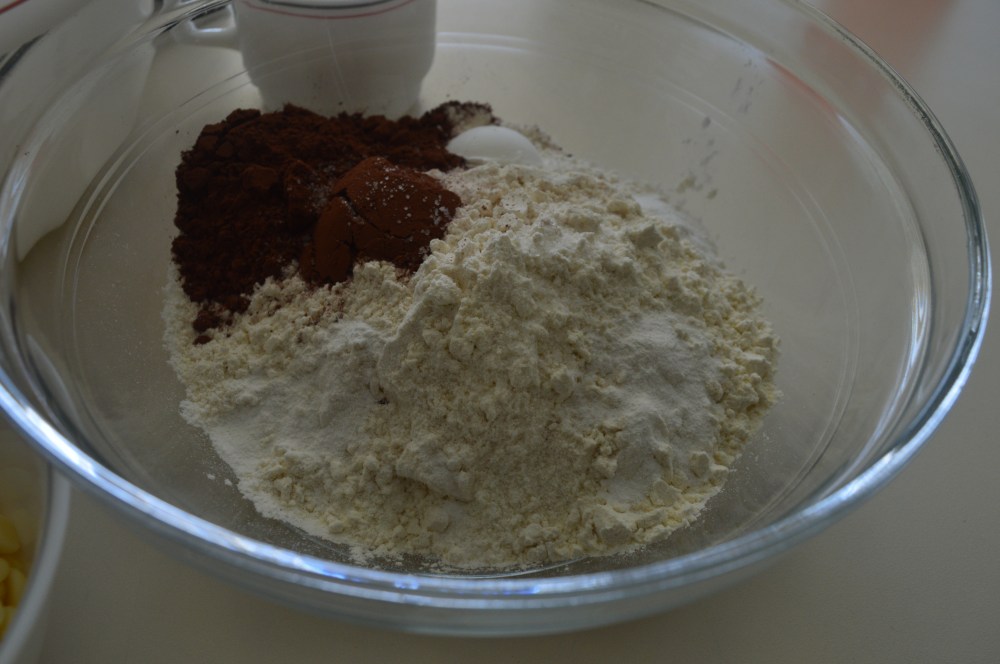
- In a medium bowl, mix flour, cocoa, cornstarch, baking powder and salt and set aside.
- In a bigger bowl, beat sugar with butter and vinegar until soft and creamy (about 3 to 4 minutes).


- Add egg, vanilla and red coloring. Beat to blend all ingredients in.

- On lower speed, add dry ingredients (mixing in between).
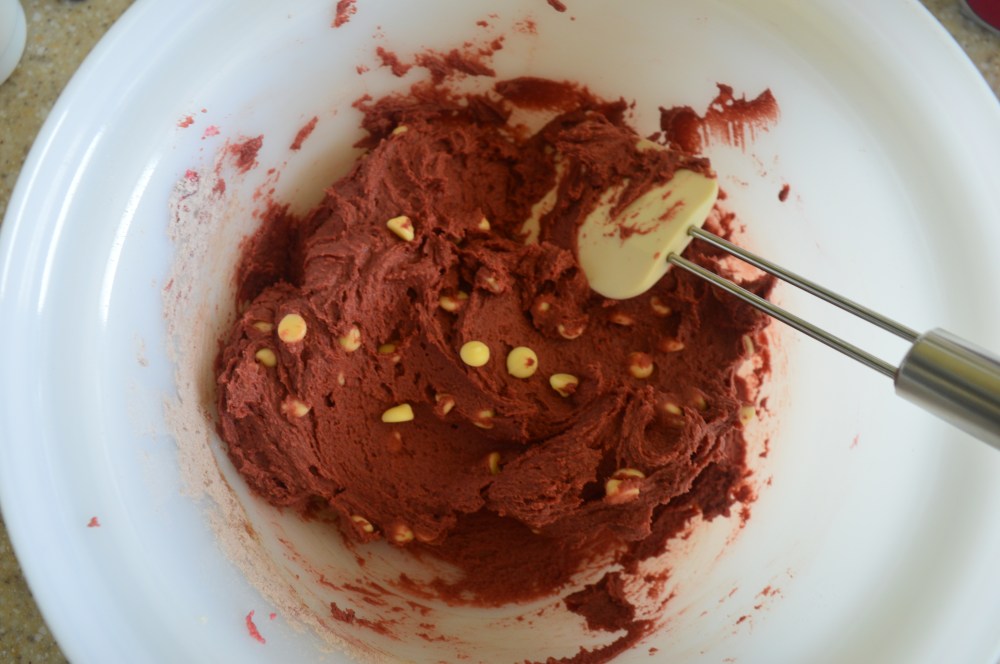
- Add white chocolate chips and incorporate with a spatula.
- Place balls of about 1 tsp size (or bigger if you would like) and place them over a cookie tray covered with parchment paper.
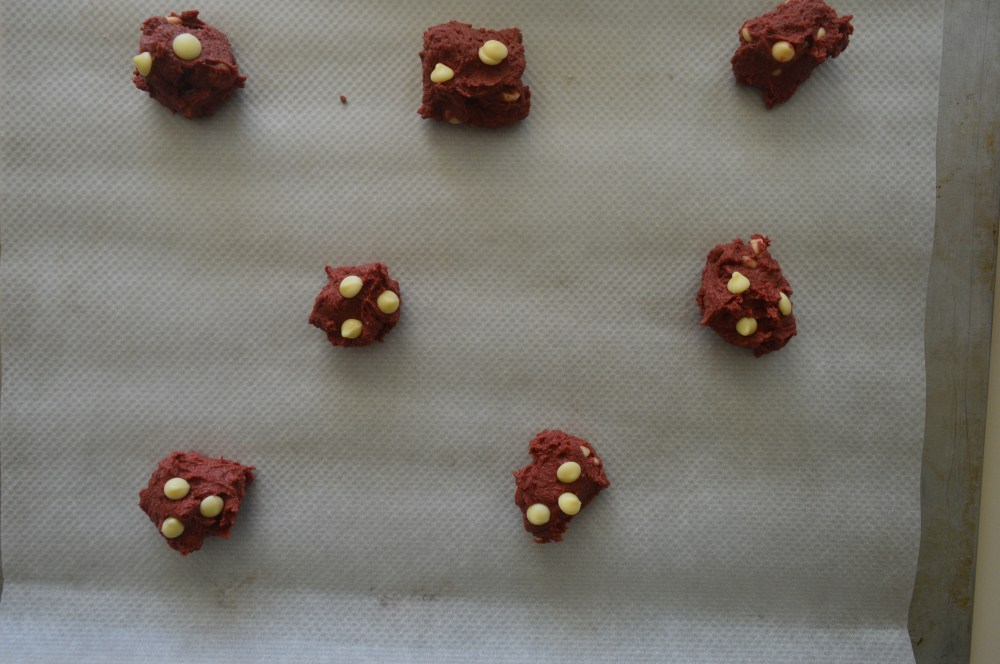
- Bake for 9-10 minutes. Once ready wait a couple of minutes before moving them to a cooling rack. While they are still warm and soft, place a couple of chocolate chips on top (See notes at the end).
- Enjoy!
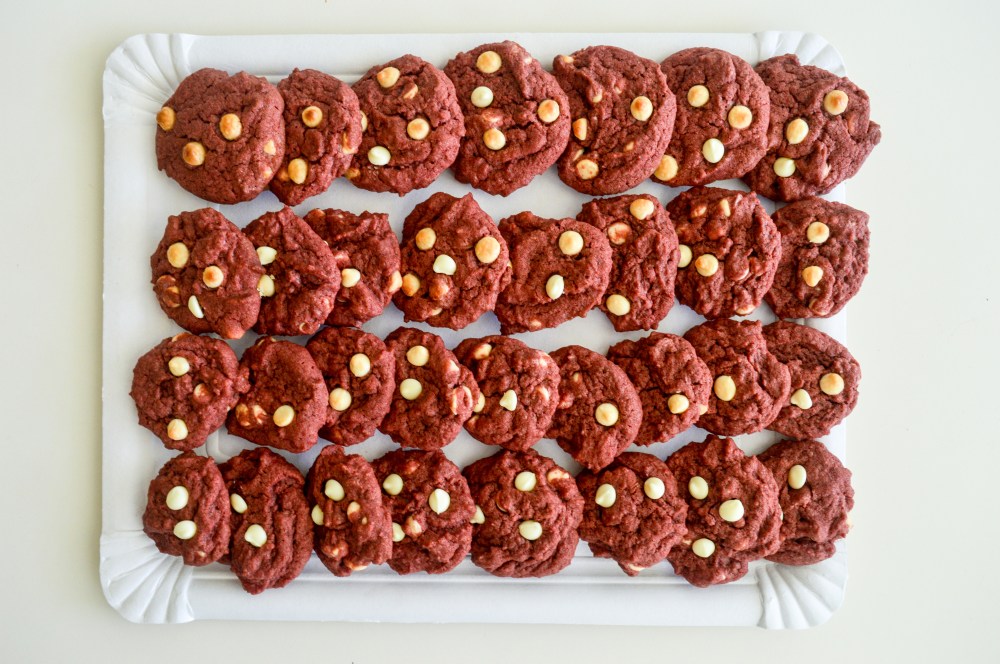
NOTES: The butter should be soft but not runny, you don’t want your cookies to spread to much. Make sure you set the right temperature in the oven, I put it a little to hot and my white chocolate chips started to turn brown. The very first I put into the oven had white chocolate chips on top, and came out brown, so next I lower the temperature but still placed chocolate chips on top. They also came out brownish. The last ones to go into the oven did not any chocolate chips visible on top, and as they were ready I added them while still soft and warm. Those were the better looking ones, even though the color was no the one I was looking for. You will see the differences in the pictures, some have different light, as I was trying to see If natural light was better or just the normal white yellowish boring light of the room.

The picture on top: the left end has the second batch baked, made cookies smaller and still got brownish white chocolate chips. Around the middle, you might notice 6 bigger cookies, those were the first ones, when the temperature of the oven was a little higher. The far right end has the very last ones, are the only ones where white chocolate chips are still white.
Both pictures below: Have bright sunny window light (which I love, that is why I try to take my baking pictures with day light). First row, first batch, very down (the last ones) the best ones of that day 🙂

Remember to include fruits and vegetables in your daily diet, drink enough water and be active.
